Version Control with Icechunk
Arraylake helps you collaborate around your cloud data holdings by providing a rich and intuitive interface that understands the underlying array data model (Zarr), and the underlying version control model (Icechunk).
This notebook will illustrate the latter using the Arraylake app.
See the Icechunk documentation on version control for a more detailed tutorial on this topic.
import arraylake as al

client = al.Client()

repo = client.create_repo("earthmover-public/vcs-demo")
By default all Icechunk repos have a main branch.
repo.list_branches()
{'main'}
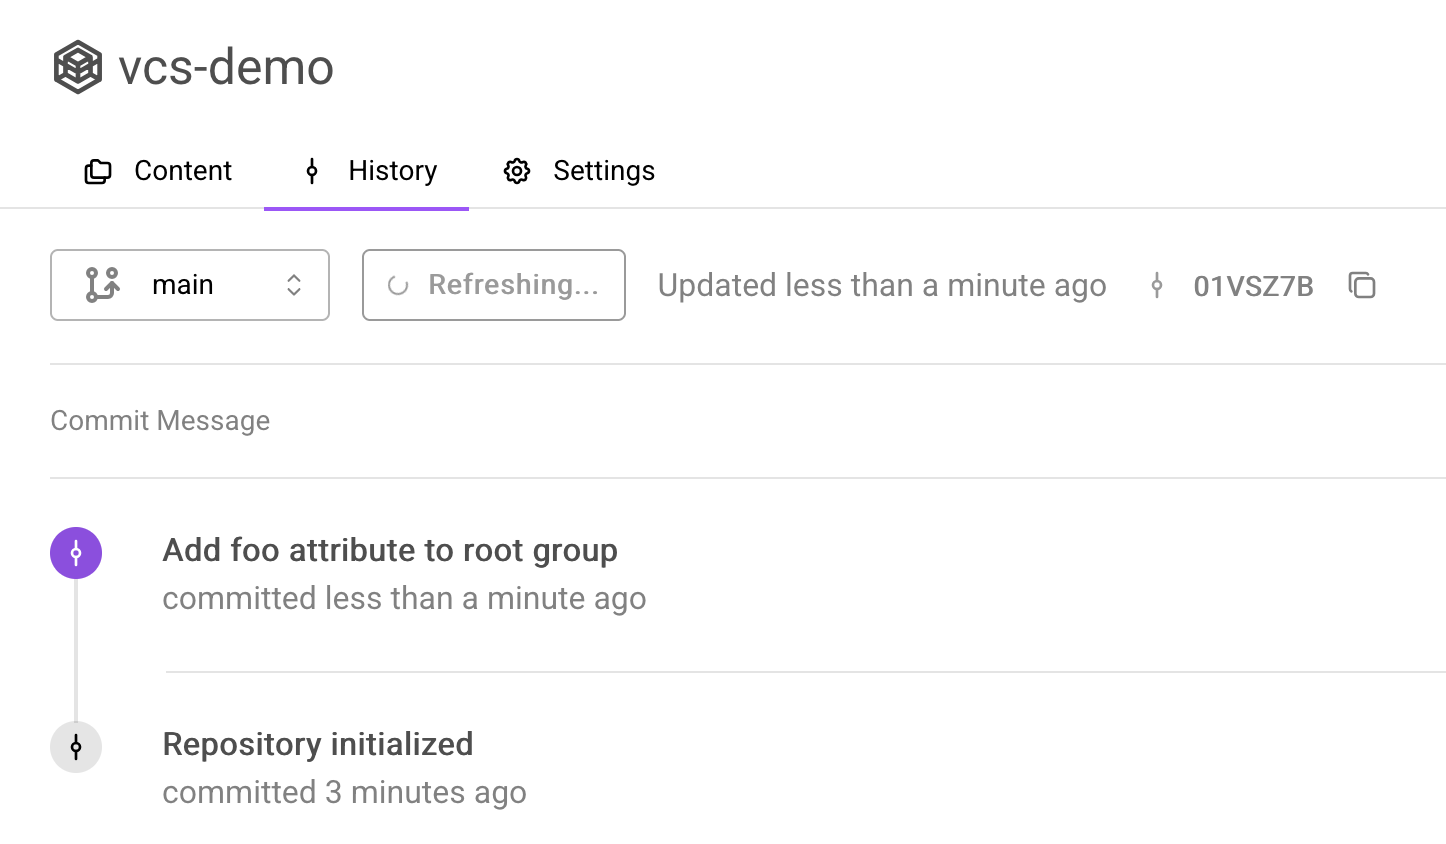
View the commit history of this branch.
list(repo.ancestry(branch="main"))
[SnapshotInfo(id="8GNCC3M3S696Y842H2N0", parent_id=None, written_at=datetime.datetime(2025,2,21,18,3,6,875702, tzinfo=datetime.timezone.utc), message="Repository...")]
There is a single commit that initialized this repository.
In the app
Click here to view this Repository in the Arraylake Web App.

Commit history
Let's make a second commit adding some attributes. We will use the Zarr API for this.
import zarr

session = repo.writable_session("main")
root = zarr.group(session.store)
root.attrs["foo"] = "bar"
session.commit(message="Add foo attribute to root group")
'BFA63WSKK2NNBSFP2MEG'
Now we have two commits.
list(repo.ancestry(branch="main"))
[SnapshotInfo(id="BFA63WSKK2NNBSFP2MEG", parent_id="8GNCC3M3S696Y842H2N0", written_at=datetime.datetime(2025,2,21,18,3,7,475453, tzinfo=datetime.timezone.utc), message="Add foo at..."),
 SnapshotInfo(id="8GNCC3M3S696Y842H2N0", parent_id=None, written_at=datetime.datetime(2025,2,21,18,3,6,875702, tzinfo=datetime.timezone.utc), message="Repository...")]
View the history over in the Arraylake App.
Branches
Let us create two new branches that branch off main
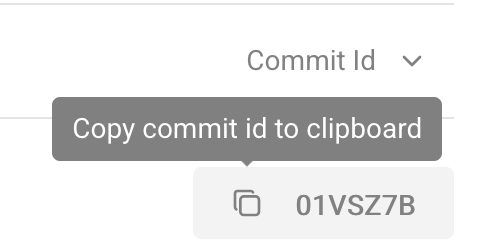
Use lookup_branch to grab the snapshot ID. Alternatively you can copy the ID from the web-app.
main_snapshot = repo.lookup_branch("main")
repo.create_branch("stage", main_snapshot)
repo.create_branch("prod", main_snapshot)
Use list_branches to view branches for the repo
repo.list_branches()
{'main', 'prod', 'stage'}
Let us update an attribute on both branches.
from datetime import datetime
session = repo.writable_session("stage")
root = zarr.group(session.store)
root.attrs["branch"] = "stage"
root.attrs["updated_on"] = str(datetime.now())
session.commit("updated stage")
'C51RZMWW10KAKGKB7340'
session = repo.writable_session("prod")
root = zarr.group(session.store)
root.attrs["branch"] = "prod"
root.attrs["updated_on"] = str(datetime.now())
session.commit("updated prod")
'596VG3G6XKC7QYBR8720'
View the branches in the branch picker at the app.
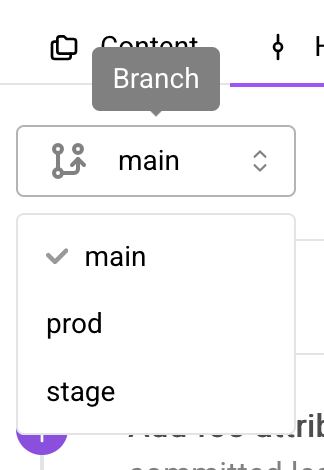
Clicking on them will present the Repository as it is on that branch. Click these links or use the branch picker to navigate there.
Tags
We add tags with create_tag. Here we will use lookup_branch to add the tag to the "tip" of each branch.
repo.create_tag("v1", snapshot_id=repo.lookup_branch("prod"))
repo.create_tag("latest-stage", snapshot_id=repo.lookup_branch("stage"))
repo.list_tags()
{'latest-stage', 'v1'}
repo.lookup_tag("v1")
'596VG3G6XKC7QYBR8720'
This is the same SnapshotID as the tip of the prod branch.
repo.lookup_branch("prod")
'596VG3G6XKC7QYBR8720'