Google Colab

Google Colab is a free, hosted Notebook service.
You can easily configure Google Colab to work with Arraylake.
Install Arraylake
You'll need to pip install Arraylake in your notebook.
! pip install arraylake
Log in to Arraylake
Create a Client and log in from a notebook cell:
from arraylake import Client

client = Client()
client.login()
Running this cell prints a link and a short code. Open the link in a new browser tab, check that the code on the page matches the one in your notebook, and approve the login. The notebook cell finishes once you're signed in.
That's it. Arraylake handles access to your data, so you don't need to set up any cloud credentials yourself.
From here, you can interact with Arraylake to read and write data! 🎉
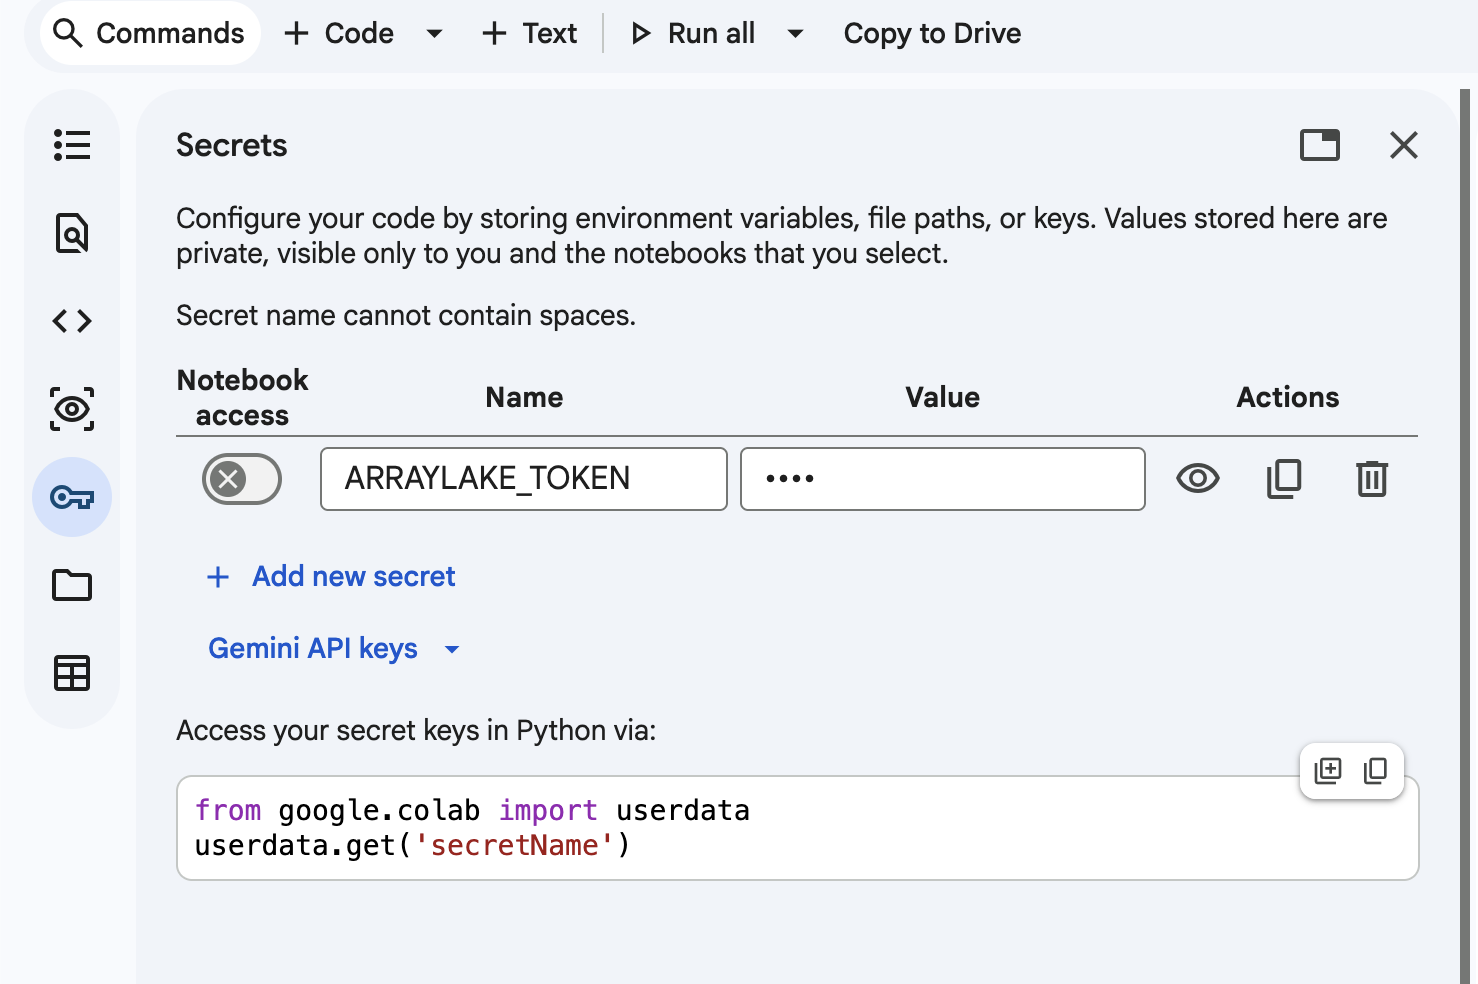
Using an API token
If you'd rather not log in by hand — for example in a notebook you want to run unattended — you
can authenticate with a service account API token
instead. Add the token to Colab's Secrets panel (the key icon in the left sidebar) and name it
ARRAYLAKE_TOKEN:
Then pass it in when you create the client:
from arraylake import Client
from google.colab import userdata

client = Client(token=userdata.get('ARRAYLAKE_TOKEN'))